
It’s that time of year again. We’re breaking out the sweaters and since my last sweater jacket fell apart, I finally decided to make one myself. It took going through multiple patterns and ripping out hundreds of rows before I finally just customized a design for myself.
So I’m sharing it since I like to keep yarny things easy and fun.
Hopefully I translated this one properly. If you hit any snags please comment and I’ll try to see what the hold up is.
Happy stitching!
Free & Easy Suzette Square Crochet Sweater Jacket
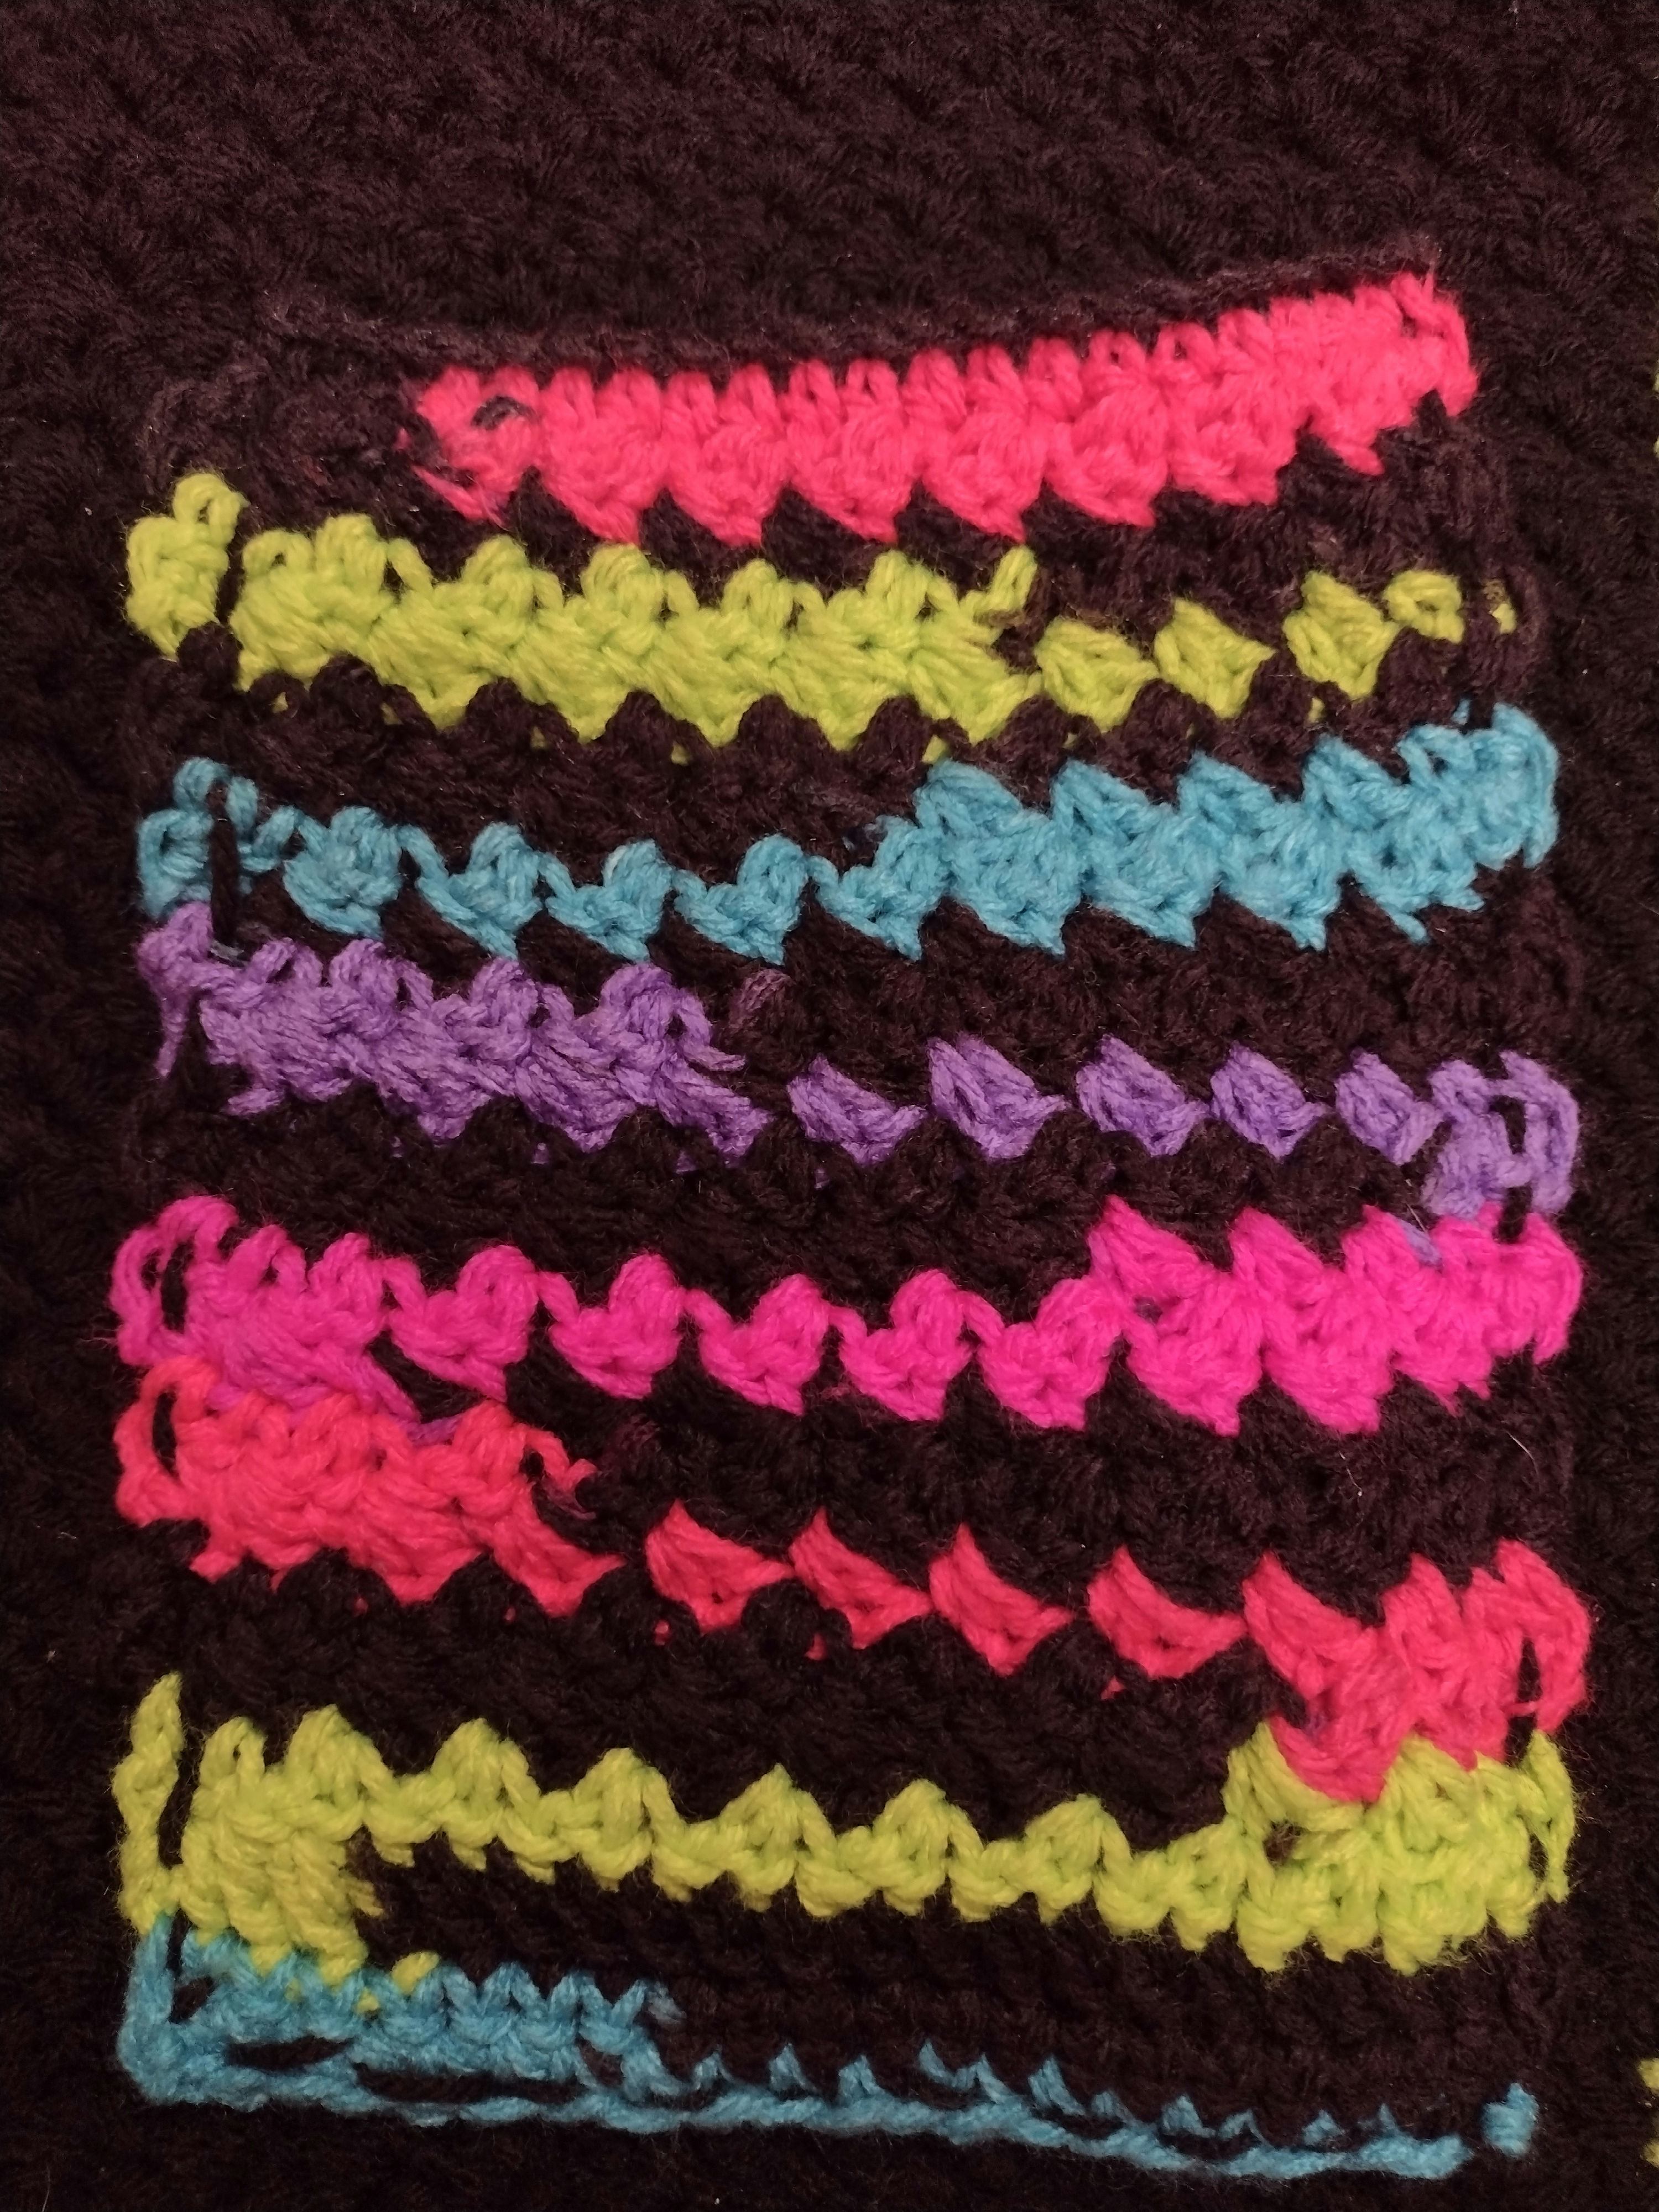
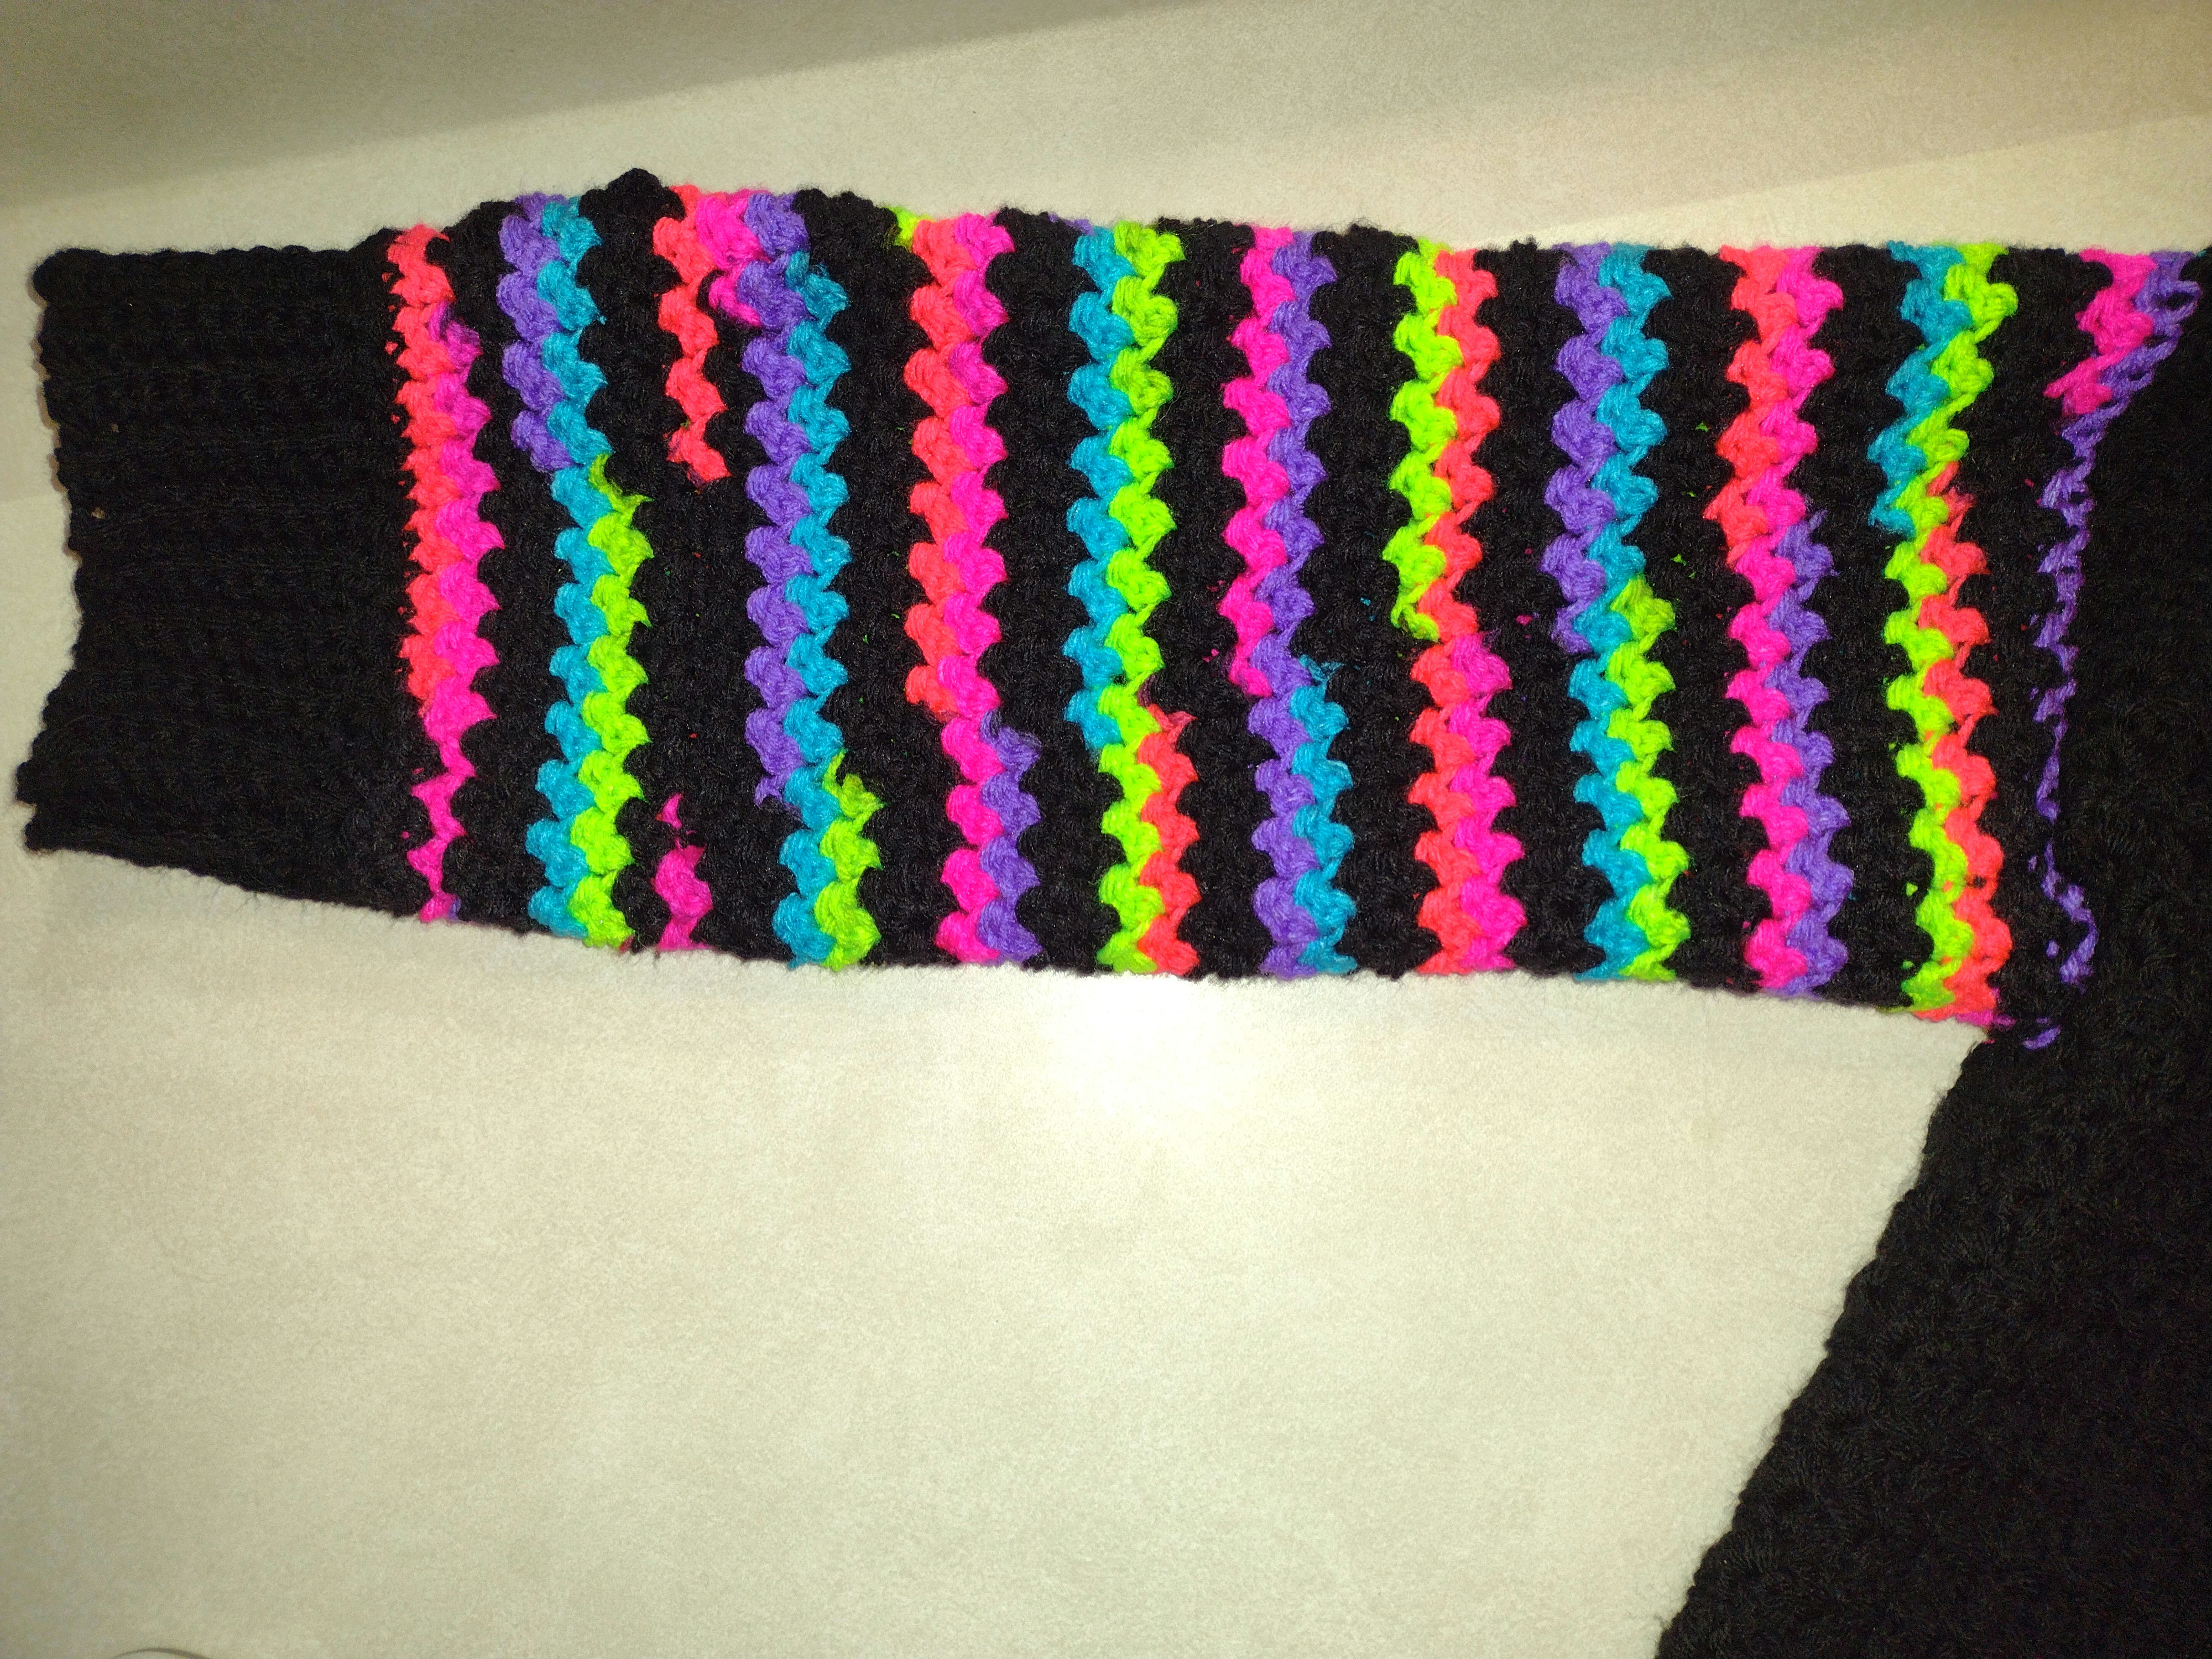
Use a solid color or multiple colors. I like to look like a rainbow threw up on me so if this is too busy for you, alter the colors as you please.
Use whatever size crochet needle you want based on how tight or lose you wish for the stitching to be. (I’m loosey goosy with my work)
I also don’t pretend to do sizing. That doesn’t always work when listing standard options. This should just be measured to fit you or whoever your making this for, and I’ll list how in the directions.
sc=single crochet
dc=double crochet
hdc=half double crochet
Back Panel:
1st row: Measure from shoulder to shoulder and make your first chain that length.
2nd row: Now build off of that using the suzette stitch: Starting in first stitch, sc & dc in the same stitch, then skip the next stitch. Repeat this pattern until the end of the chain and sc in last stitch. Ch 1 to turn.
Next rows: Repeat this pattern until the back panel reaches the length you desire. (I like a long jacket so mine goes to the back of my knees. But this could be down to a waist, rump, thighs, or wherever.)
Last row: sc in each stitch across. Fasten off. (I tie mine off with a double knot – I know it’s a crochet no-no to some, but I need to.)
Front Panels (Make 2):
1st row: Measure halfway across the back panel, and make your chain that length.
2nd row: Once again do your repeating Suzette stitch pattern: Starting in the first stitch, sc & dc in the same stitch, then skip the next stitch. Repeat until the end of the chain. Sc in the last stitch. Ch1 to turn.
Next Rows: Repeat this pattern until the pieces are the same length as the back panel.
Last Row: Sc in each stitch across.
Assemble Big Pieces:
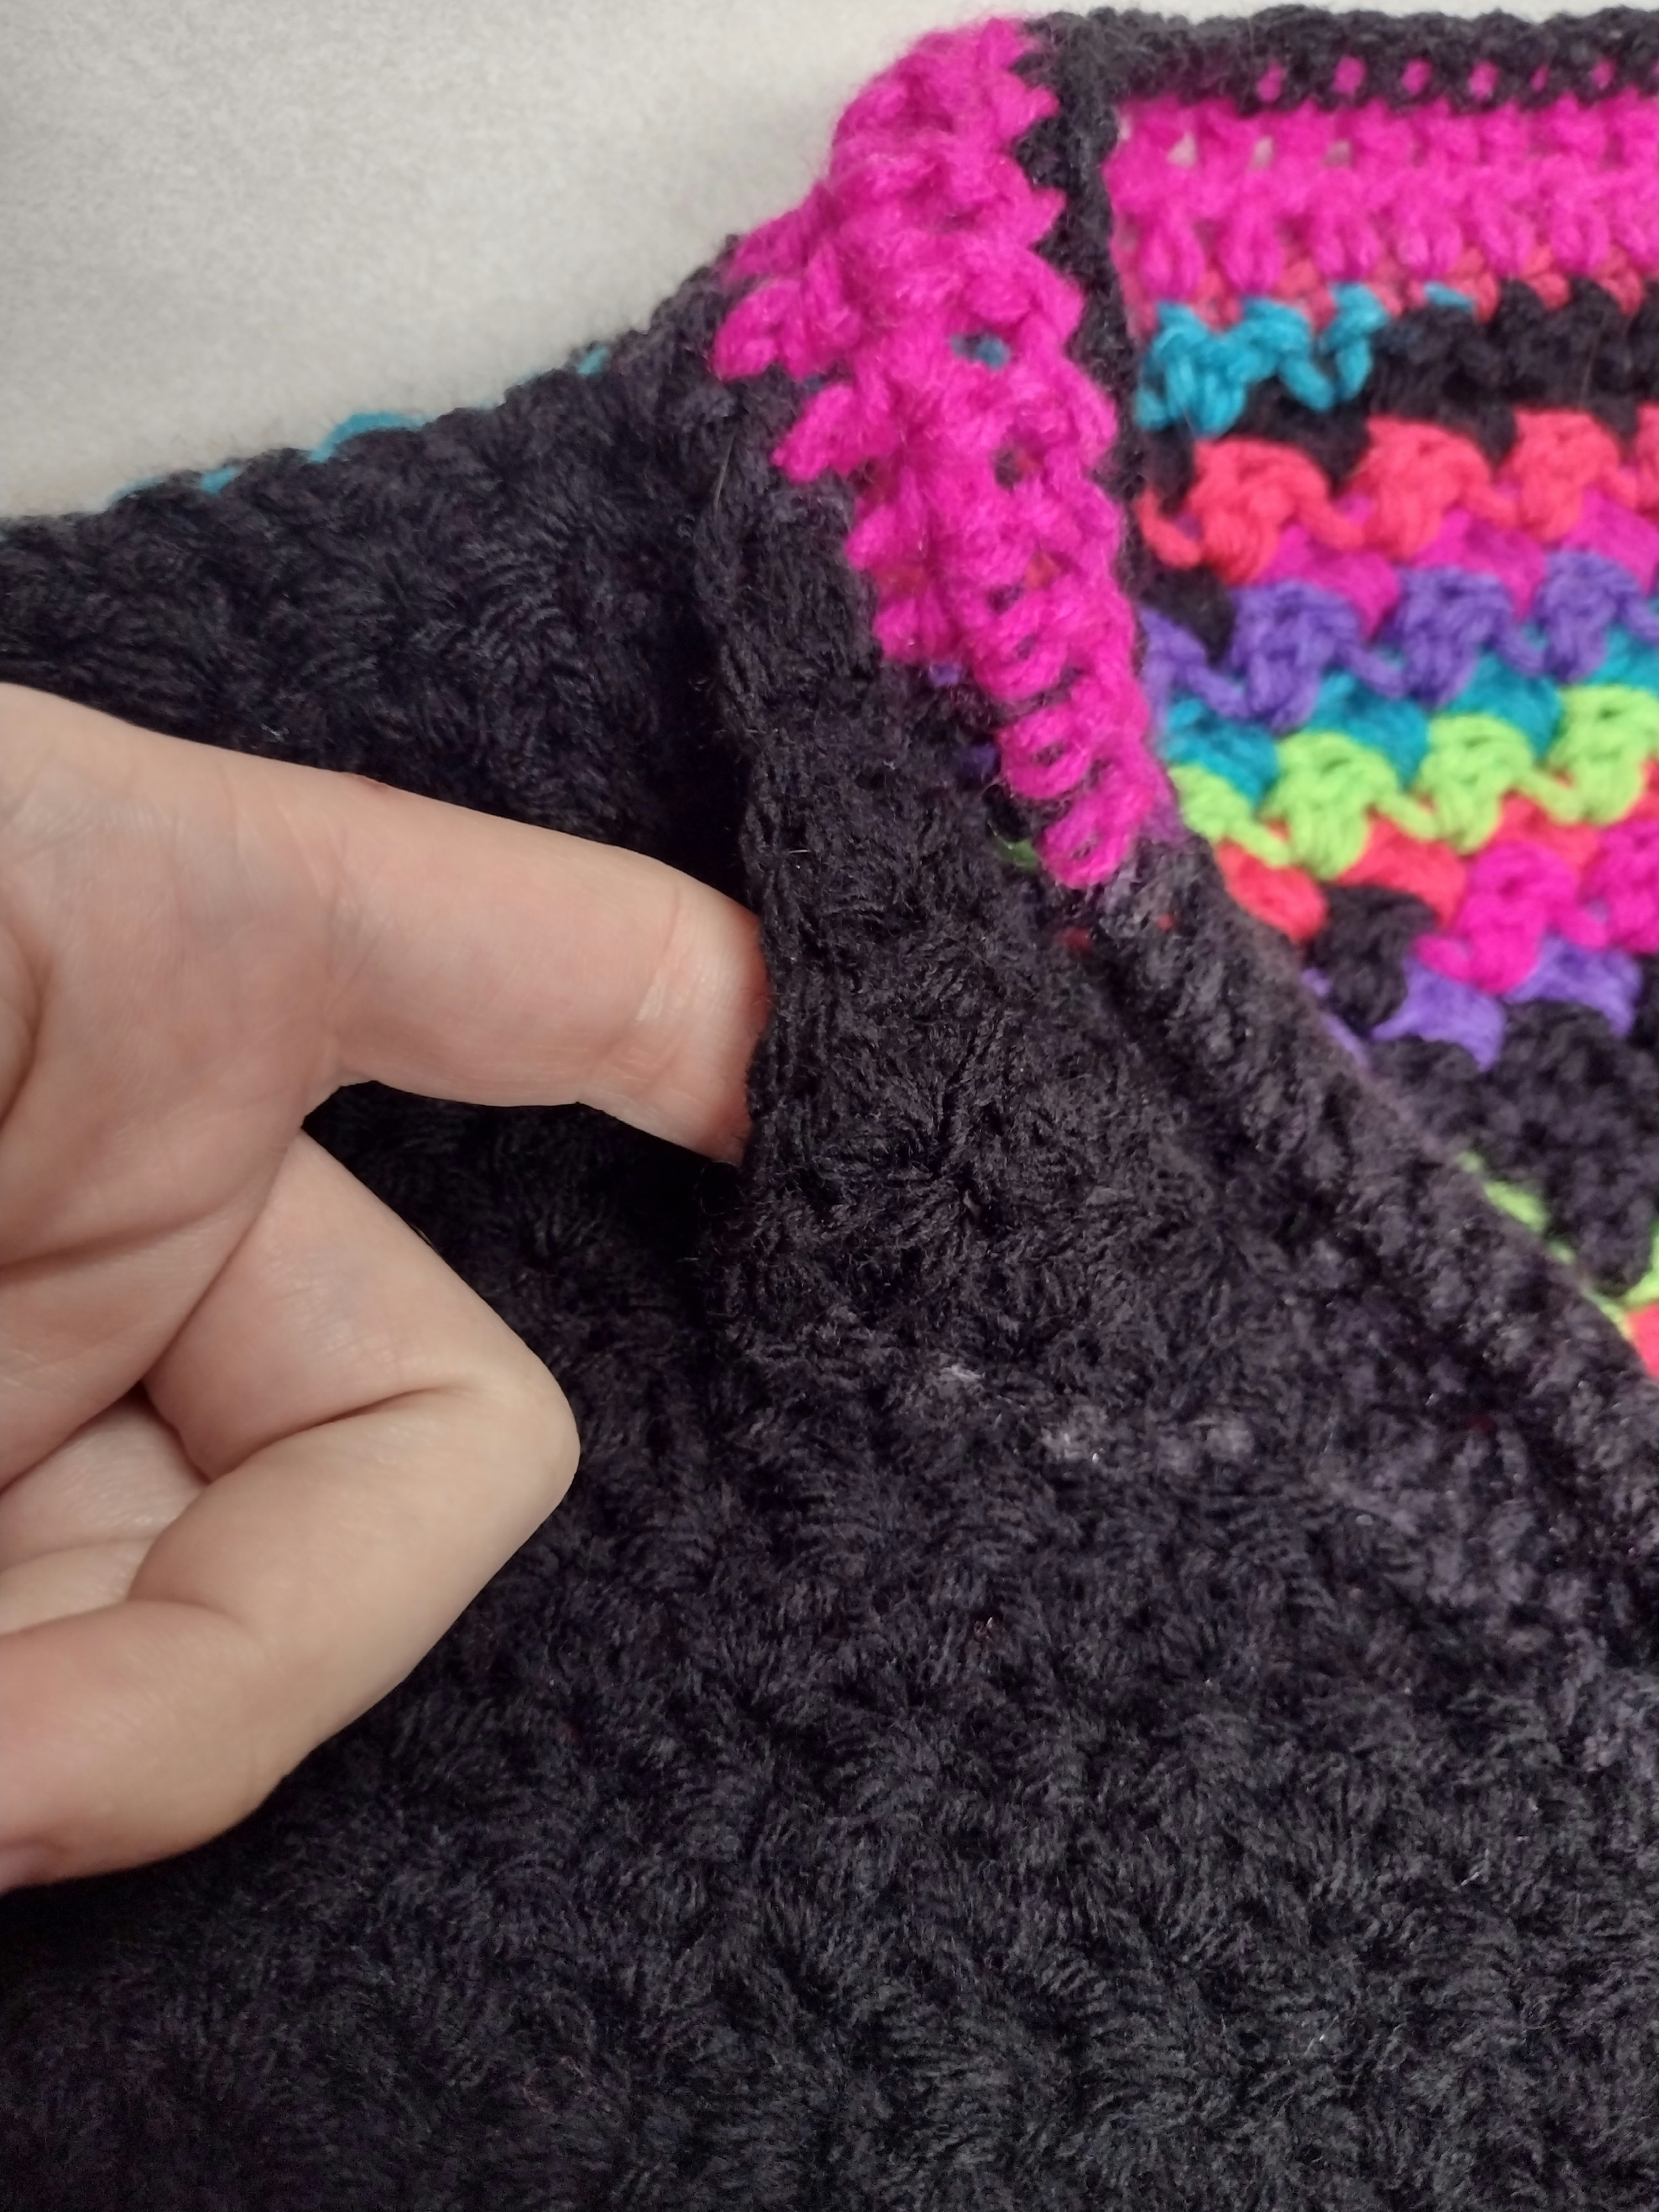
Shoulders: Take the 2 front panels and lay them on top of the back panel. Sew them ¾ of each way working inward toward the middle. This can be done with stitching or by using a slip st to attach and adding a sc across to make a seam connecting the pieces at the top, just make sure that each front panel is started working from the outside in and that you attach them about 3/4s of the way and leave some free (the remaining stitches will be worked later—I promise)
Sides: Measure about 6-9 in down from shoulders to leave an opening for your arm pieces. Then sew together or make a seam using a Slip st and then working a sc in each stick the rest of the way down to bring the back panel and each side together.
Pockets (Make 2):
1st row: Ch 20 + 1 to turn
Row 2: Hdc in each stitch across, then Ch 1 to turn.
Row 3-20: Hdc in the first stitch, sc & dc in the next st, hdc, then sc & dc in next stitch. Repeat all the way down until sc in the last st. Ch 1 to turn.
Row 21: Dc in each st
Row 22: Sc in each st across. Tie off.
Stand up and measure where the pockets should be based on where you want the hands to rest. Mark with safety pins and then sew the pockets on.
Arms (Make 2):
Row 1: Slip st to join at the bottom of the opening left for the arms. Work sc in each st around passing the shoulders and going back down to the bottom.
2nd Row: Continuing to work in the circular pattern, repeat the suzette stitch: Starting at the first st, sC & DC in the same stitch, then skip the next stitch.
Next Rows: Repeat around and around and around until the arms measure just up to your wrist. Make them as long or short as desired, but remember to leave some room for the cuffs.
Cuffs
Row 1: Sc in each stitch at the end of the arms, then chain as long as you wish the cuffs to reach. Mine are about as long as my thumb. Ch 1 to turn.
Row 2: Now, working in the back loops only, sc down back toward the arm. Sc to hook into the next stitch at the end of the arm.
Row 3: Move over and sc in the next stitch ON THE END OF THE ARM PIECE and then sc in the back loop of each stitch up the chain of the cuff you have started. (This may seem odd at first but when going all the way around it makes for a nice fluid creation.) Ch 1 to turn.
Repeat rows 2 and 3 until you have just 1 stitch on the arm end left. Join with a sc and bring both cuff ends together with the sc stitch all the way up. Tie off.
(Note: You can make the cuffs unattached to the arms and then sew them in, I just prefer to build off of whatever I have already made. Doing it attached makes for better sizing accuracy.)
Border/Collar Finish:
Row 1: Starting at the bottom of one of the front panels on the inside/open portion sc each stitch all the way around. Up the side until you reach the corner. Fold the corner of the front panel inward and pin it. Now work your sc stitches in the new rounded edge you have created. (It will make sense.) Go up and around the collar and fold the corner of the other front panel and pin down. In the same way, sc around the newly formed rounded edge and down the side. Ch 1 to turn.
Row 2: Dc in each stitch working up to where the corner of the front panel is folded and through the new edge created that leaves the corner turned away from the middle. Work up around the collar and continue through the new stitches created by pinning the other corner and down the side. Ch 1 to turn.
Row 3: Repeat row 2.
Row 4: Sc in each stitch around. Then tie off to end.

Hidden Compartments
Now go back to the pinned down corners and sew up the bottom/side. Leave the top open to create a cute little hidden compartment for lip gloss, money, or whatever you want.
Remove all pins, cut off or weave in all loose ends and that’s that!
